🖼️ White Wave Island — image placeholder
☀️ Day 1
White Wave Island
Weather: Clear Skies
Station rewards
- • 5× Resource Items
- • 2× Speedups
- • 2× Components
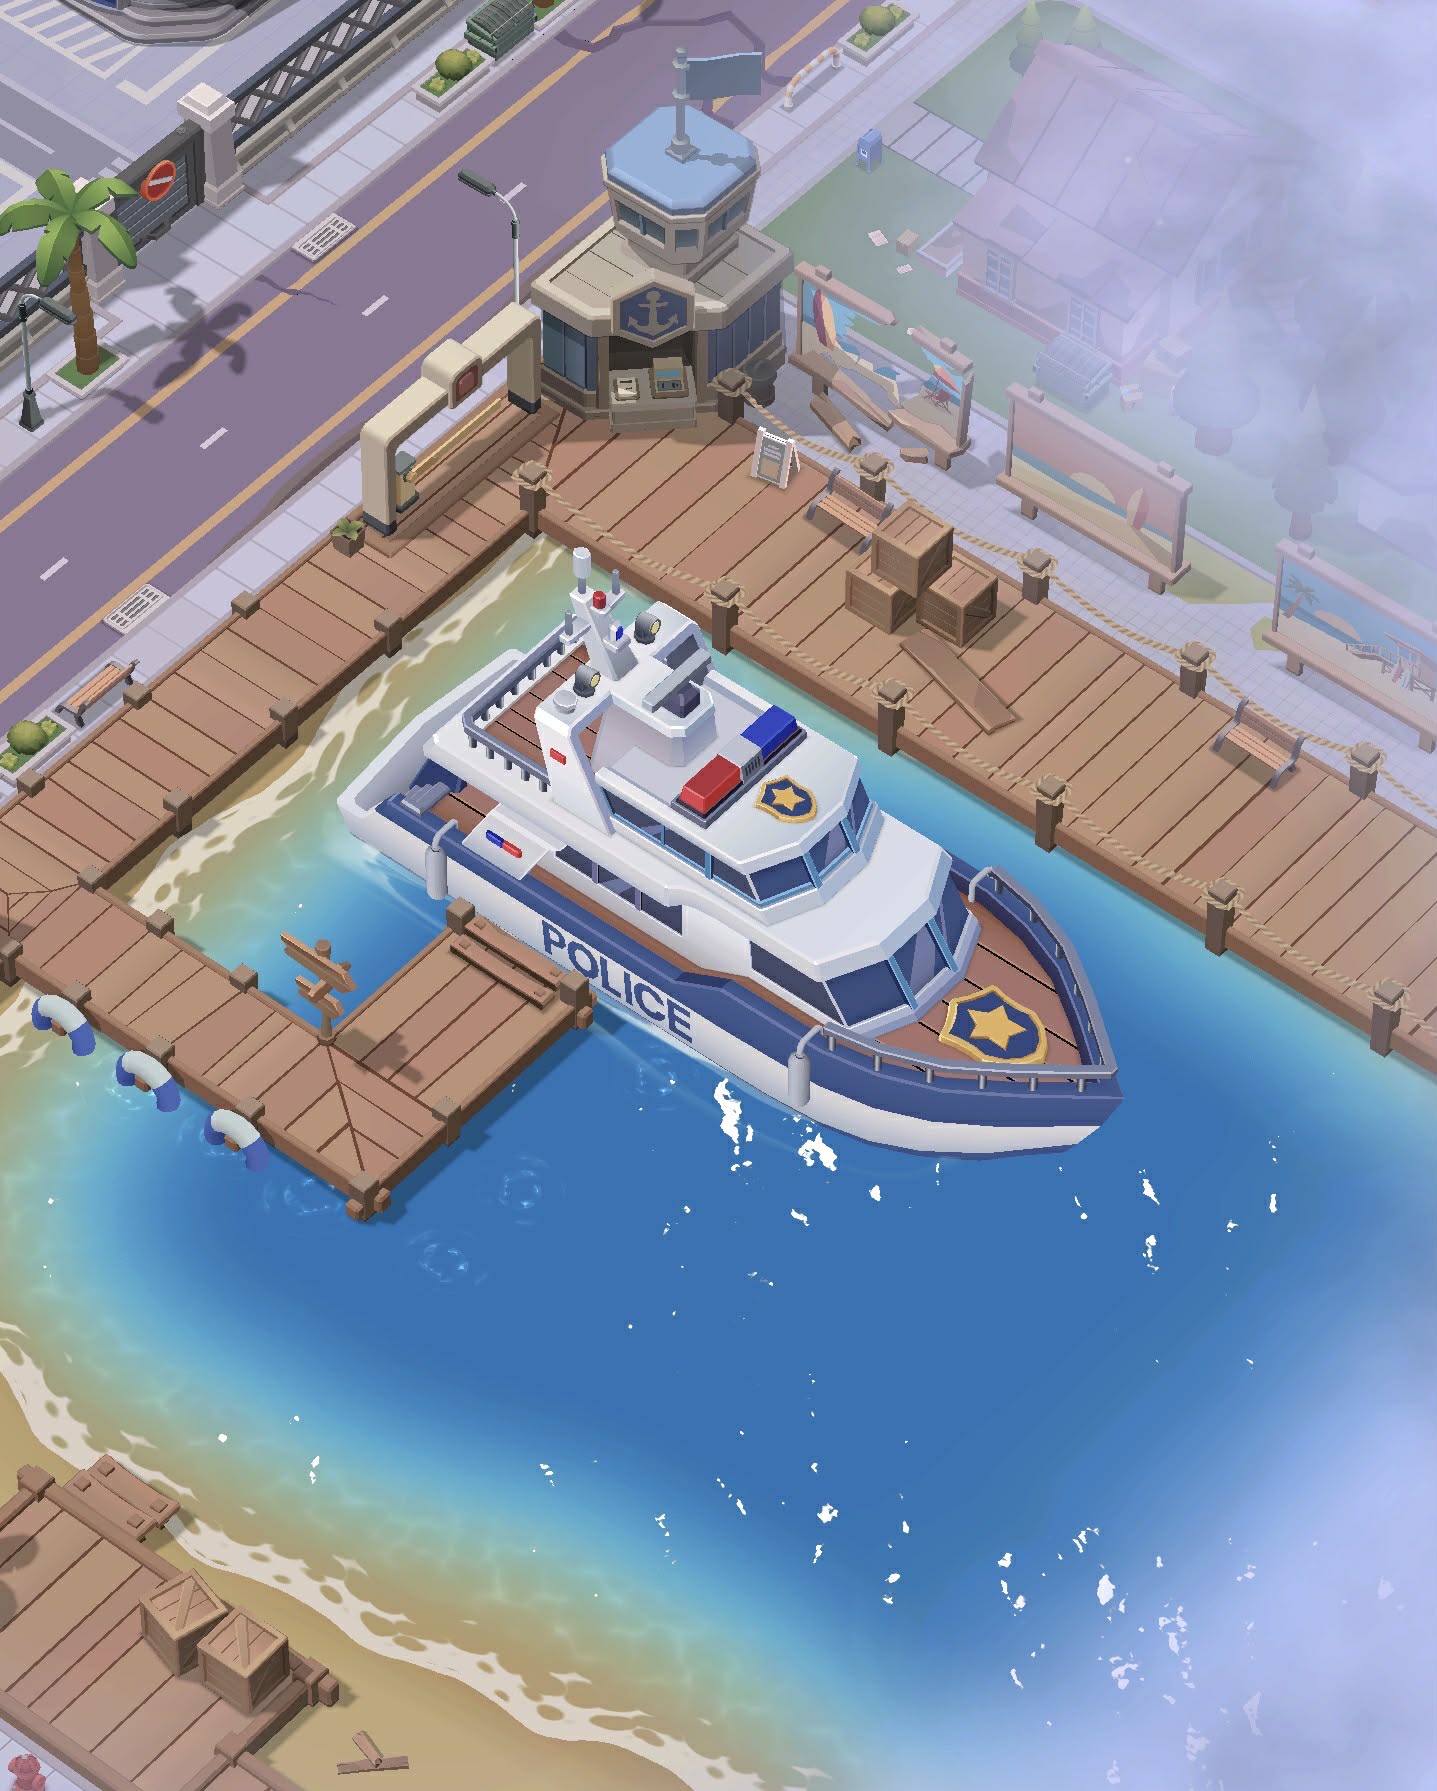
Build it. Decorate it. Buff it. Make it yours.
Welcome to your own little slice of paradise — except this island isn't just here to look pretty. Sapphire Bay gives you a 60×60 island to clear, build, decorate and upgrade. The better your island becomes, the more Prosperity you earn and the more permanent buffs you unlock for your entire account. So yes… decorating your tropical getaway can actually make your Chief stronger. 🌴
60×60 Island
Clear the fog, chop the trees, and slowly unlock the entire island.
🥥Coconut Cocktails
Your main Sapphire Bay currency.
⭐Prosperity
Build and upgrade decorations to increase your island score.
📦60 Supply Crates
Hidden around the island with a LOT of Coconut Cocktails waiting inside.
Start here
Getting there
You don't arrive at Sapphire Bay immediately. First you complete a 3-day real-time voyage. Story entries unlock every 3 hours, with 8 entries each day and a station event at the 24-hour mark. There is no fast-forward, so collect the rewards as they unlock and enjoy the trip.
☀️ Day 1
Weather: Clear Skies
Station rewards
🌥️ Day 2
Weather: Gloomy Skies
Station rewards
⛈️ Day 3
Weather: A Storm Strikes
You've made it. The final story sequence unlocks Sapphire Bay itself.
Economy
This is your island money.
Spend them on
Where do they come from?
720 Wood = 1 Coconut Cocktail
🌴 One complete coconut tree = 52 Coconut Cocktails
This is your island score.
Prosperity comes primarily from placing and upgrading decorations.
Higher Prosperity
The core loop
Step 1
Workshop crews walk out to frontier trees and start swinging. Trees are the raw fuel of the whole island.
Exploration
Sapphire Bay is a 60×60 grid, but you won't get the whole island immediately. You begin with only a small western beach area open. The rest?
🌫️ How fog works
Fog disappears naturally as you clear the nearby land. Clear trees → open grids → reveal more island. There is no special fog-clearing item.
💡 Reaper Tip
Buildings
Your tiny island lumber crew.
Workers automatically
⭐ Level 4 = big breakpoint
At Level 4 the Workshop goes from 1 Worker → 2 Workers. That is a major clearing boost.
📊 Workshop upgrade table
💡 Upgrade Tip
Tree math
🌴 One tree = 52 cocktails
Every coconut tree has 37,440 HP and wood converts at 720 Wood = 1 Cocktail → 37,440 ÷ 720 = 52.
Your Workshop level does not change how many cocktails a tree is worth. It changes how quickly you get them.
Don't skip this
Watching your island = faster clearing
On the island screen
100%
efficiency
Away from the island
50%
efficiency
👑 Chief Tip: Doing something else and can leave the game open? Park yourself on Sapphire Bay and let those little workers earn their cocktails.
Note: workers may briefly continue if the island scene stays backgrounded, but eventually the island screen closes and production falls back to the offline rate.
Main building
The Chief's Office of Sapphire Bay
Storage holds 12 hours of production — collect before it caps.
Level progression
⭐ First big goal
Cost to reach the milestone
6,500 Coconut Cocktails + 1,200 Prosperity
💡 My recommendation: this is the first thing I'd work toward. Unlocking ally help gives you another steady source of cocktails, and you'll finally start appearing on the island rankings.
Treasure hunt
Crates become available once at least one of their four directly adjacent grid spaces is cleared.
50
Standard crates
Cocktails
10
Special crates
500 Cocktails + bonus component
🥥 ~184,500 cocktails total
Plus 5× 8-Hour Universal Speedups and 15× Legendary Universal Hero Fragments.
💡 Clearing Tip
Buff engine
🎯 Functional decorations
These are the ones doing actual work. They can provide ⭐ Prosperity and ⚡ permanent buffs. Rare and Epic decorations are especially important.
🎨 Cosmetic decorations
These are here to make your island pretty: 0 Prosperity, 0 buffs. You can place up to 500 of each.
💡 Build the island you want — just remember the palm-lined sidewalk isn't making your Marksmen hit harder. 😂
🚨 Don't waste your duplicates
Decoration upgrades
Decorations upgrade using unplaced Level 1 copies of the same decoration.
Lvl 1
initial copy
Lvl 2
+2
Lvl 3
+3
Lvl 4
+4
Lvl 5
+5
Total = 15 Level-1 copies to fully max one decoration
Unwanted decorations can be dismantled and recycled back into materials.
🚨 Save Universal Decoration Construction Blueprints
Long haul
Unlike normal decorations, the Lighthouse reaches Level 10.
Lv. 1: Squad Health +1% / Squad Penetration +1% → Lv. 10: Squad Health +10% / Squad Penetration +10%.
Level 10 buff
Squad Health +10% / Squad Penetration +10%
Blueprints needed from scratch
81
Blueprint requirements
Total to max: 81 Blueprints
Blueprint sources
Payoff
⚔️ Combat buff list — coming soon
The individual buff values and their decoration sources haven't been confirmed yet. They'll be filled in here as we verify them in game.
Free stuff
🍹 Tiki Bar Tasks
Rewards for reaching Tiki Bar Levels 1–7.
Reward list coming soon
🎨 Decoration Tasks
Rewards for placing and upgrading decorations.
Reward list coming soon
⭐ Prosperity Tasks
Reach 100 Prosperity → 10,000 Cocktails.
🌴 Clearing Tasks
Rewards along the tree-clearing progression.
Reward list coming soon
Day 1
Freshly Cut Coconut Stall
Day 2
2,000 Cocktails
Day 3
Large Bonfire
Day 4
2,500 Cocktails
Day 5
3,000 Cocktails
Day 6
3,500 Cocktails
Day 7
🏎️ Beach Karts — Epic
Total: 11,000 Cocktails + 3 Decorations
🚨 Don't miss Day 7
Alliance
Once your Tiki Bar reaches Level 3, allies can help manage your Tiki Bar.
Receive Help
Once every 6 hours
Max Received
3 per day
Max Given
3 per day
Reset
00:00 Server Time
Reward
Both Chiefs receive bonus cocktails
🖤 Reaper Rule
❤️ Island Likes
Like each ally's island once per week.
👀 Visit
Check out other island layouts.
📤 Share
Show your own layout to the alliance.
Leaderboard
Your ranking uses your highest Prosperity score ever achieved, not necessarily what is currently sitting on your island.
Requirement
Tiki Bar Level 3+
Additional ranking tab — Coming Soon / Unconfirmed
One ranking category is not implemented yet and we don't have a confirmed name or behaviour for it, so we're leaving it blank rather than guessing.
Roadmap
🌱 Phase 1 — Rush Tiki Bar Level 3
Unlock Prosperity Rankings and Alliance Help. Everything else gets easier once these are on.
🪓 Phase 2 — Start Clearing
Help 3 allies daily, open crates, build more Workshops, and aim for Workshop Level 4 (second worker).
🎨 Phase 3 — Build Your Buff Collection
Get one of each Rare/Epic functional decoration, then upgrade based on what your account actually needs.
🌴 Phase 4 — Clear the Whole Island
Unlock the Coconut Processing Plant and sweep up the remaining Supply Crates.
👑 Phase 5 — Max the Bay
Push the Tiki Bar to max, upgrade your Rare/Epic decorations, and work toward the Lighthouse.
Endgame
Locked until full island clear
Unlock requirement: clear every coconut tree.
Production
40 Cocktails/hr per worker
Storage
2,000 Cocktails
Single level — no upgrade track. This becomes your steady long-term production source once the original forest is gone.
Quick Summary